How to Upload Syllabus to Moodle Lsu
Moodle: Activities & Resources: Add together a File
Moodle provides an like shooting fish in a barrel way for an instructor to present materials to their students, such as word-processed documents, slideshow presentations, PDF, and more than. All types of files can be uploaded and accessed through Moodle, merely the pupil needs to accept the right software to exist able to open up them. Files may be added by uploading from an external source, such as computer or USB drive, or by dragging and dropping directly onto the course folio.
Notation: Y'all cannot add folders through the methods listed beneath. Instead, create a Moodle Folder in your grade, and add files into that location. See GROK article #20196 Binder Resources.
Drag and Drib Method:
- Log on to Moodle. Navigate to the department where you want to add the file
- With your file manager open, concur down the left mouse push on the desired file and drag it onto the course page. Once your mouse is in the elevate and drop box, release the left mouse button to drop the file into your course. Annotation that Moodle volition automatically add together the title of your file to the course. Y'all can modify this by clicking on the pencil icon to access the edit settings as explained in the section beneath.
- Alternatively, y'all can use the browse link in the drag and drop box to select a file from your file managing director.

- Alternatively, y'all can use the browse link in the drag and drop box to select a file from your file managing director.
Add a File Resource Method
The second method of adding a file is through the learning activity bill of fare.
- Log into Moodle, and navigate to the course and section where yous desire to add a file.
- Click Create learning activity, and then click the Resource tab. Select file.
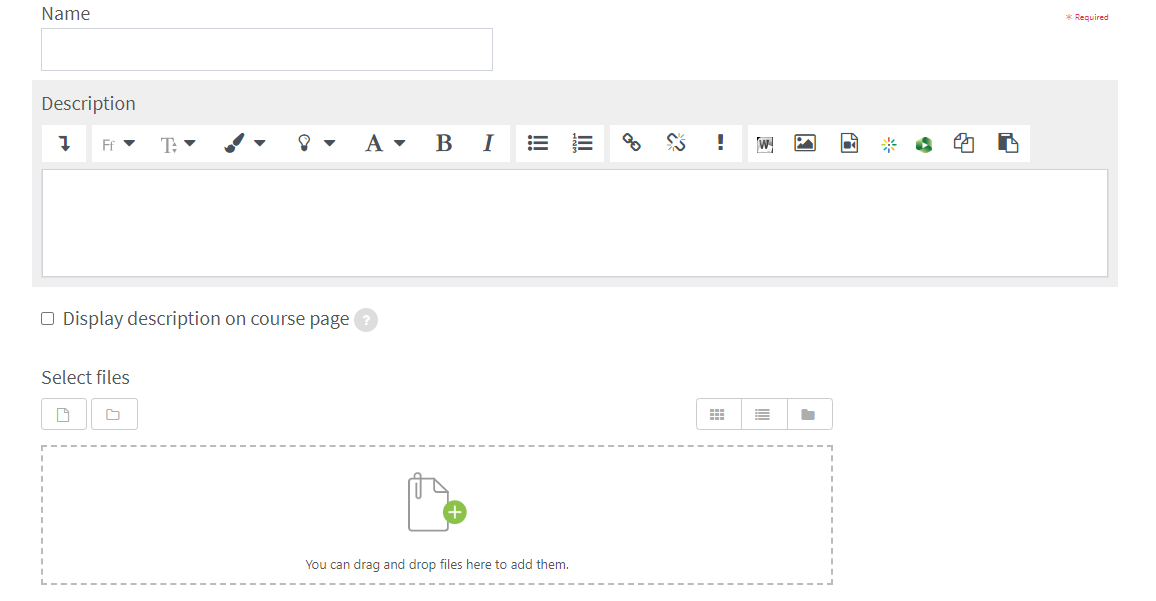
- Enter a title for the file, and a description (optional). Using the drag and drop method or the scan method, add the file.
Note: You should only add together I file. (Fifty-fifty you add together multiple files, information technology volition only display the showtime. To add multiple files, create a Moodle binder (meet GROK article #20196 Binder Resource).
-
Nether Common module settings, choose how you want the file to display. The options are:
-
Show on grade folio makes the file visible to students.
-
Hibernate from students makes the file invisible to users with the educatee role.
-
Brand available merely not shown on course page puts the file in "stealth" mode. The file will be invisible to students only can be linked in another section, resource, or activeness in the course. This is meant to save space on the course page.
-
-
Edit access permissions under Restrict admission. The file can be restricted based on a prior activity completion, date, class requirement, user profile fields, or a combination of nested restrictions.
-
Edit Action completion settings. By default, students tin manually mark this resource complete. The other options are to require students to view the activeness or non to indicate completion at all.
-
Add Tags, which are keywords related to the file that volition appear in the form Contents search.
-
Click Save and return to course. The file will appear on the course page according to the settings you chose.
Support & Training
Support and grooming for Moodle is available via the Faculty Engineering science Center at ftc@lsu.edu. For more information, please encounter the post-obit article: Faculty Applied science Center: LSU Overview
Attending at least one training session for Moodle upgrades is highly recommended. For a comprehensive list of training sessions, too as to register for a slot, delight see http://training.lsu.edu.
20194
five/27/2021 i:16:04 PM
GROK is a resources of Louisiana State University developed and maintained with support of the LSU Student Technology Fee. We love getting feedback from the full general public, merely our support efforts are mostly dedicated to the LSU community. Thanks for your understanding!
Source: https://moodle3.grok.lsu.edu/article.aspx?articleid=20194
0 Response to "How to Upload Syllabus to Moodle Lsu"
Post a Comment